The data card designer has its own Menüband with different insert options and configuration options:

Ribbon Data card
Area Row / Column
Symbol |
Option |
Function |
|
Add row / column |
Inserts a new row / column at the end of the table. |
|
Delete row / column |
Deletes the selected row / column from the data card. |
|
Autofit row height / column width |
Distributes the row height / column width of all selected rows / columns evenly without changing the total height or width. You have to select e.g. one block of cells one above the other and then choose the option Autofit row height in the ribbon. |
Area Cell
Symbol |
Option |
Function |
|
Merge cells |
This option is only active if more than one cell is selected which can be connected to another cell. If it is a merged cell, it can be split into the original number of cells by clicking the "Merge cells" button. |
|
Cell type |
Changes the selected cell type. Depending on the selection, there are different layout settings available. |
After you have inserted a table and click in any cell, the properties dialog opens in the right part of the designer. The width of this dialog can be adjusted depending on requirements. Different properties are available depending on the cell type. These can either be entered using drop-down selection or manually.
![]() Available settings for the properties:
Available settings for the properties:
General •Cell type, text type (selection for Pflegen mehrsprachiger Texte), text, and tooltip
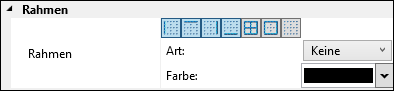
Layout •Fill color, horizontal and vertical alignment of the text Frame •Button: Frame border left, above, right, below, all frame borders, frame borders outside, no frame •Type and color of framing lines
Font •Font, size, type and text color Column •Column type and height Line •Row type and height
|
Further hints:
1.Mark two or more adjacent cells to be merged. 2.Click Merge cells in the ribbon Data card in the group "Row". 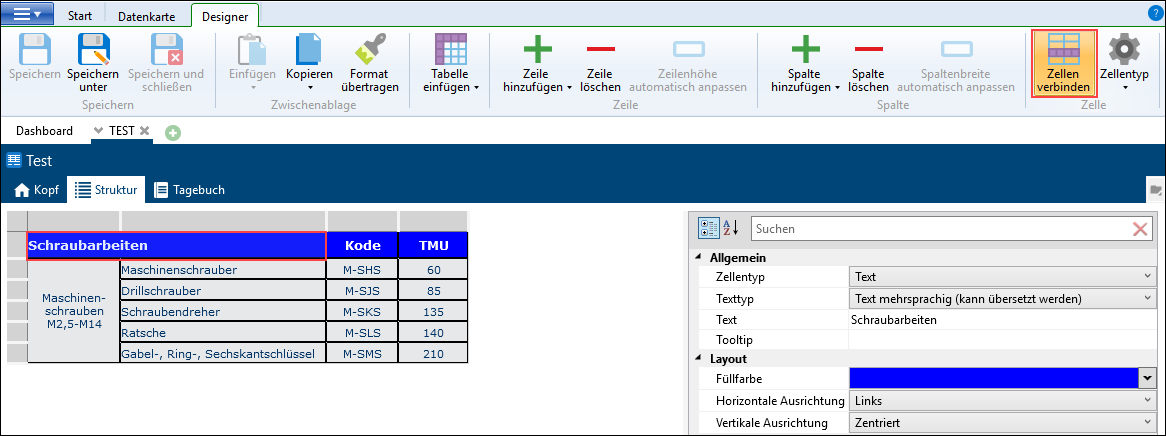 |
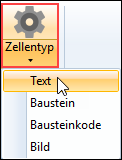
The cell format can be selected in the ribbon using the "Cell type" button. The type can also be changed in the settings under "General". Four types are available:
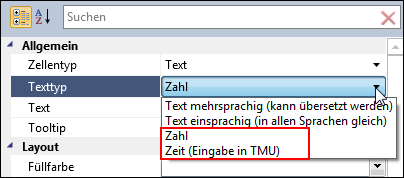
Instructions for use: 1.of times
If "Number" is selected under "Text type", the value entered in the data card is fixed. If you select "Time (in TMU)", the value must be entered in TMU. The times on the data card are converted accordingly when the time is changed, provided the option "Times respond to time converter" is active in the header. If the option is not activated, the times are displayed according to the time unit and decimal places set in the header. The "Picture" or "Element" option must be defined as the cell type. Picture files can be integrated by specifying the path name row in the "Properties" dialog. The storage location of the picture file can also be selected using the "
|