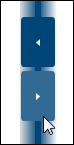
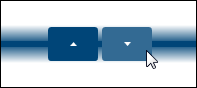
By clicking the following buttons, it is possible to hide the left or right workspace (or upper/lower workspace, depending on how the area has been split) and, thus, use the full size of the screen. In order to make the hidden workspace visible again, you just need to click the button which appears when moving the mouse at the left or right/upper or lower part of the screen.
Hide workspace - move to the left or right
Hide workspace - move up or down
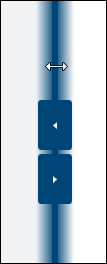
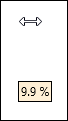
Make the workspace visible again By moving / dragging the split bar, the size of the areas can be individually adjusted.
Individually arrange your work area The width or height changes when moving the split bar - holding down the mouse button - and is displayed as a percentage. |

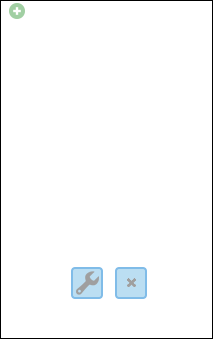
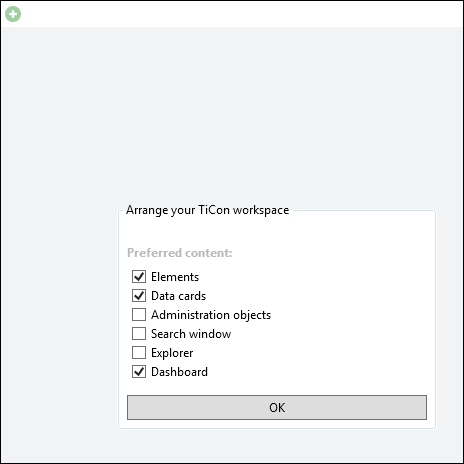
If the Dashboard is closed and the work area is empty, the following buttons are displayed. By clicking the tools icon or "Configure layout" using the "Layout options" button, a dialog is opened in which the preferred contents for the respective area can be chosen.
Tools icon for opening the configuration dialog
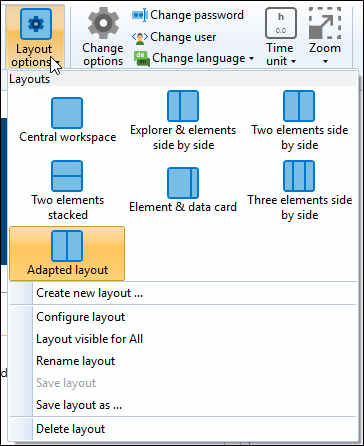
Mask for selecting the preferred contents for a work area It is possible to save a newly configured layout. To do this, divide the work area as desired, define in which work area the contents are supposed to be opened, and save the layout by clicking "Save layout" or "Save layout as". A layout can be renamed later. If the layout is supposed to be visible to all other users, you can specify this by clicking "Layout options" and selecting "Layout visible for all".
|