These instructions do not cover the installation of the Internet Information Server (IIS). This offers a great deal of freedom with different configurations. This description only covers a basic default installation, which can be used to set up a test system, for example.
1.Add another feature in the Windows Control Panel (under "Install programs" if necessary)

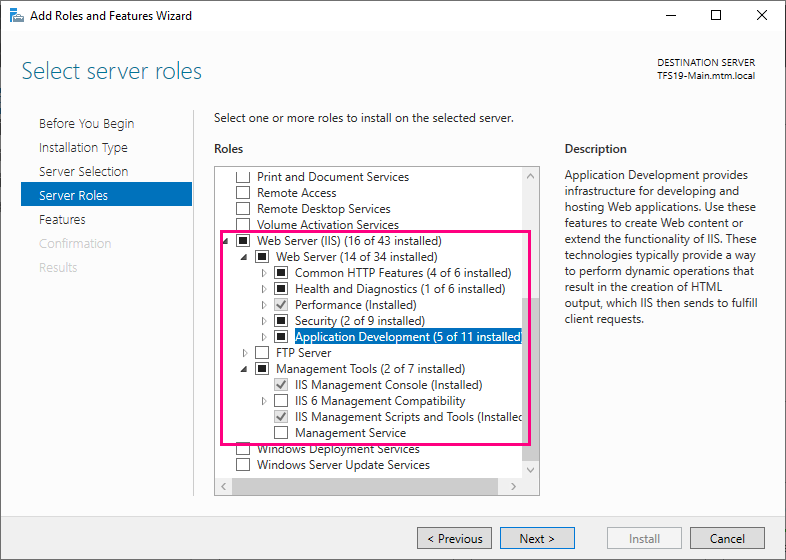
2.Select the "Web Server (IIS)" item. If you are unsure about the features, you can select all of them.
3.Install the current version of the ASP.NET Core Hosting Bundle for version 8.
At the time of the instructions, 8.0.8 was the current version and can be downloaded directly here: Download ASP.NET Core 8.0 Runtime (v8.0.8) - Windows Hosting Bundle Installer (microsoft.com) (THEN restart your PC!!!)
An overview of the current version can be found here:
Download .NET 8.0 (Linux, macOS, and Windows) (microsoft.com)
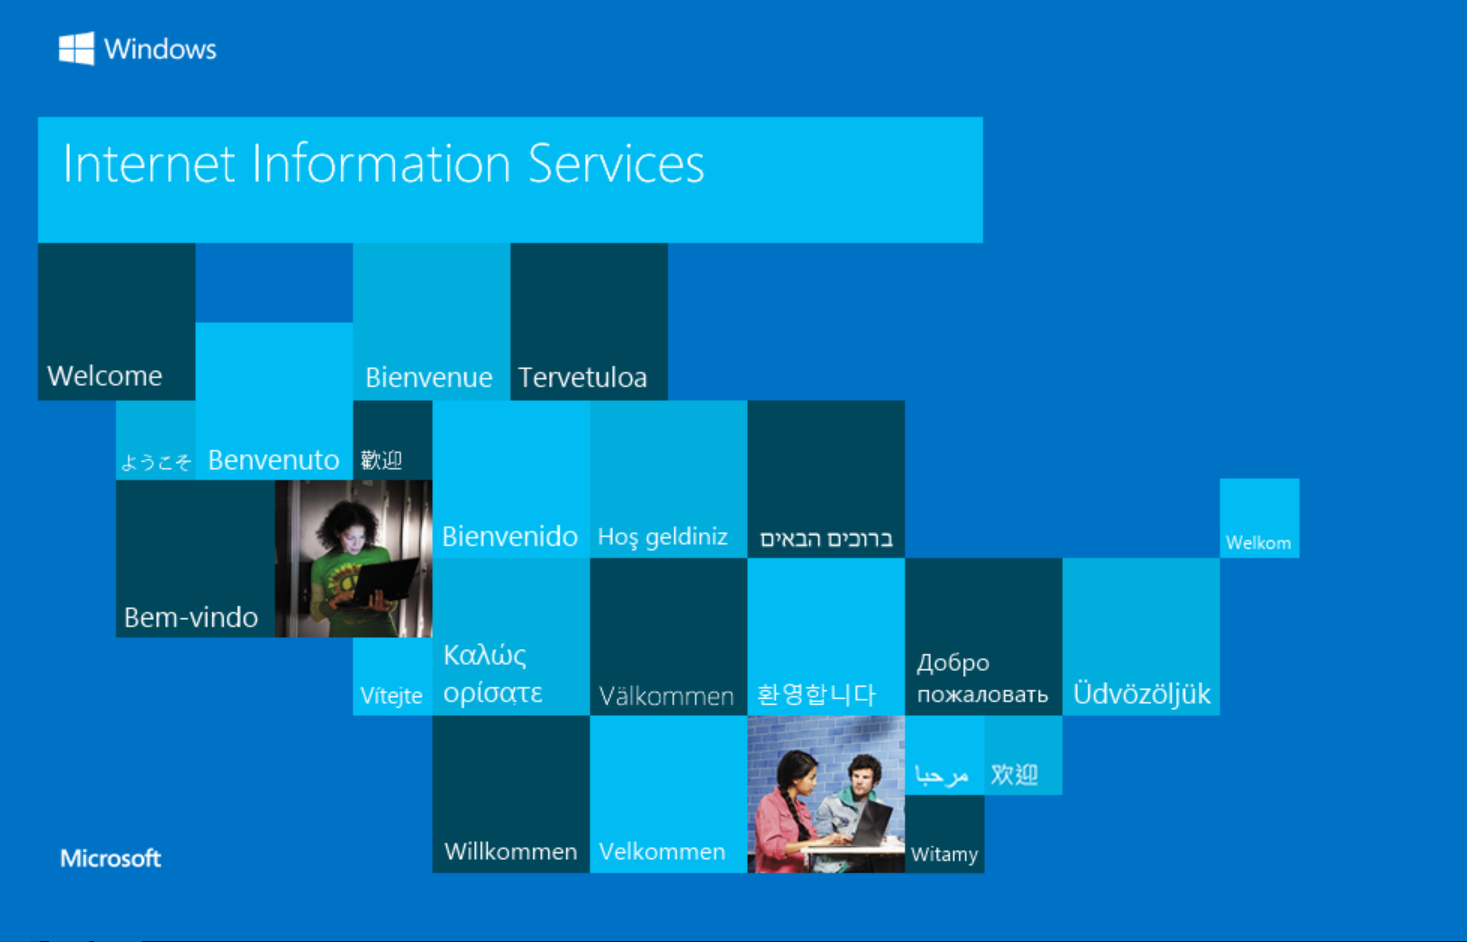
Test accessing the website by opening the URL http://localhost in any browser. The default page of the IIS should be displayed.

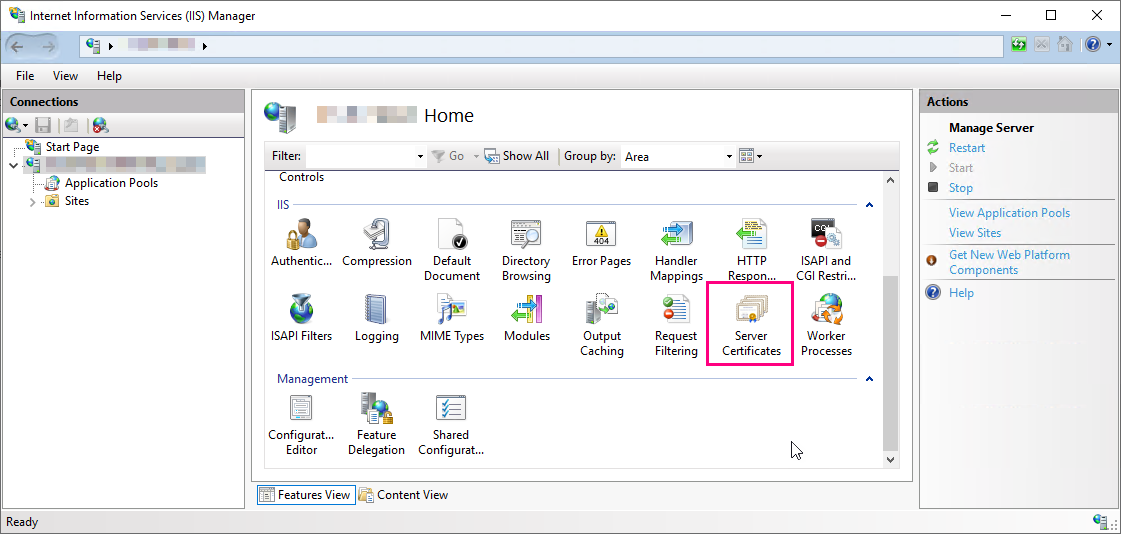
4.Start the Internet Information Services (IIS) Manager (enter "InetMgr.exe" in Start) and open the server certificates there.
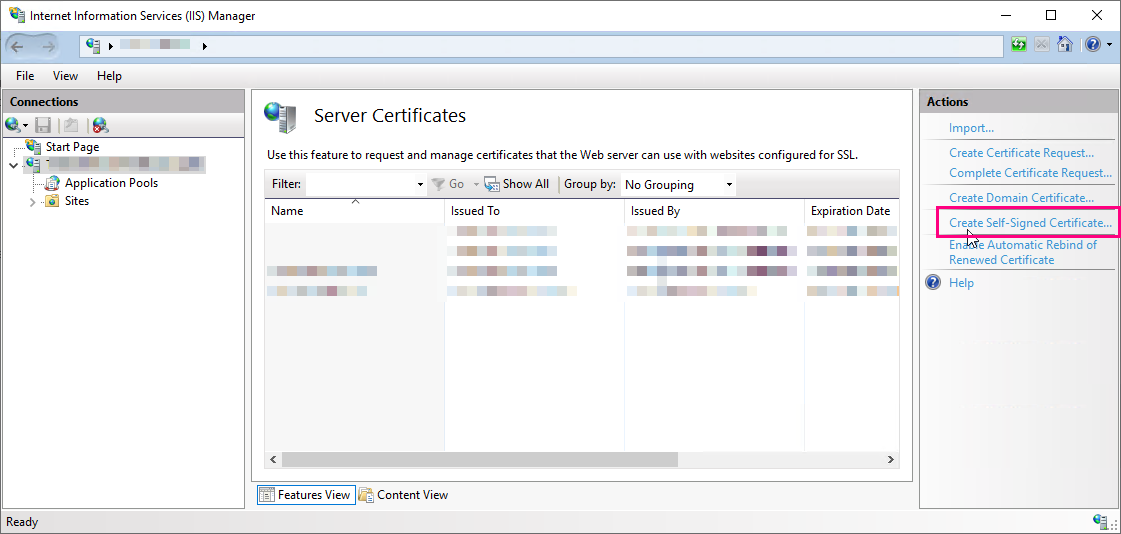
5.Create a new self-signed certificate (any name)
6.Select the default page and change the port to 444 under "Edit links". Create a new link. Set the type to https, set the port to 443 (as 443 is to be used later for the REST API) and select your self-signed certificate or a trusted certificate.

7.Test accessing the website opening the URL "https://localhost:444 " in any browser. The default page of the IIS should be displayed.
If the certificate is self-signed, the browser may issue warnings.
8.Download and install Microsoft Web Deploy v4.0 (or newer) to make it easier to install the package according to the instructions on the Microsoft website.
"https://www.microsoft.com/en-us/download/details.aspx?id=106070"
When selecting the functions to be installed, you can choose "Typical".